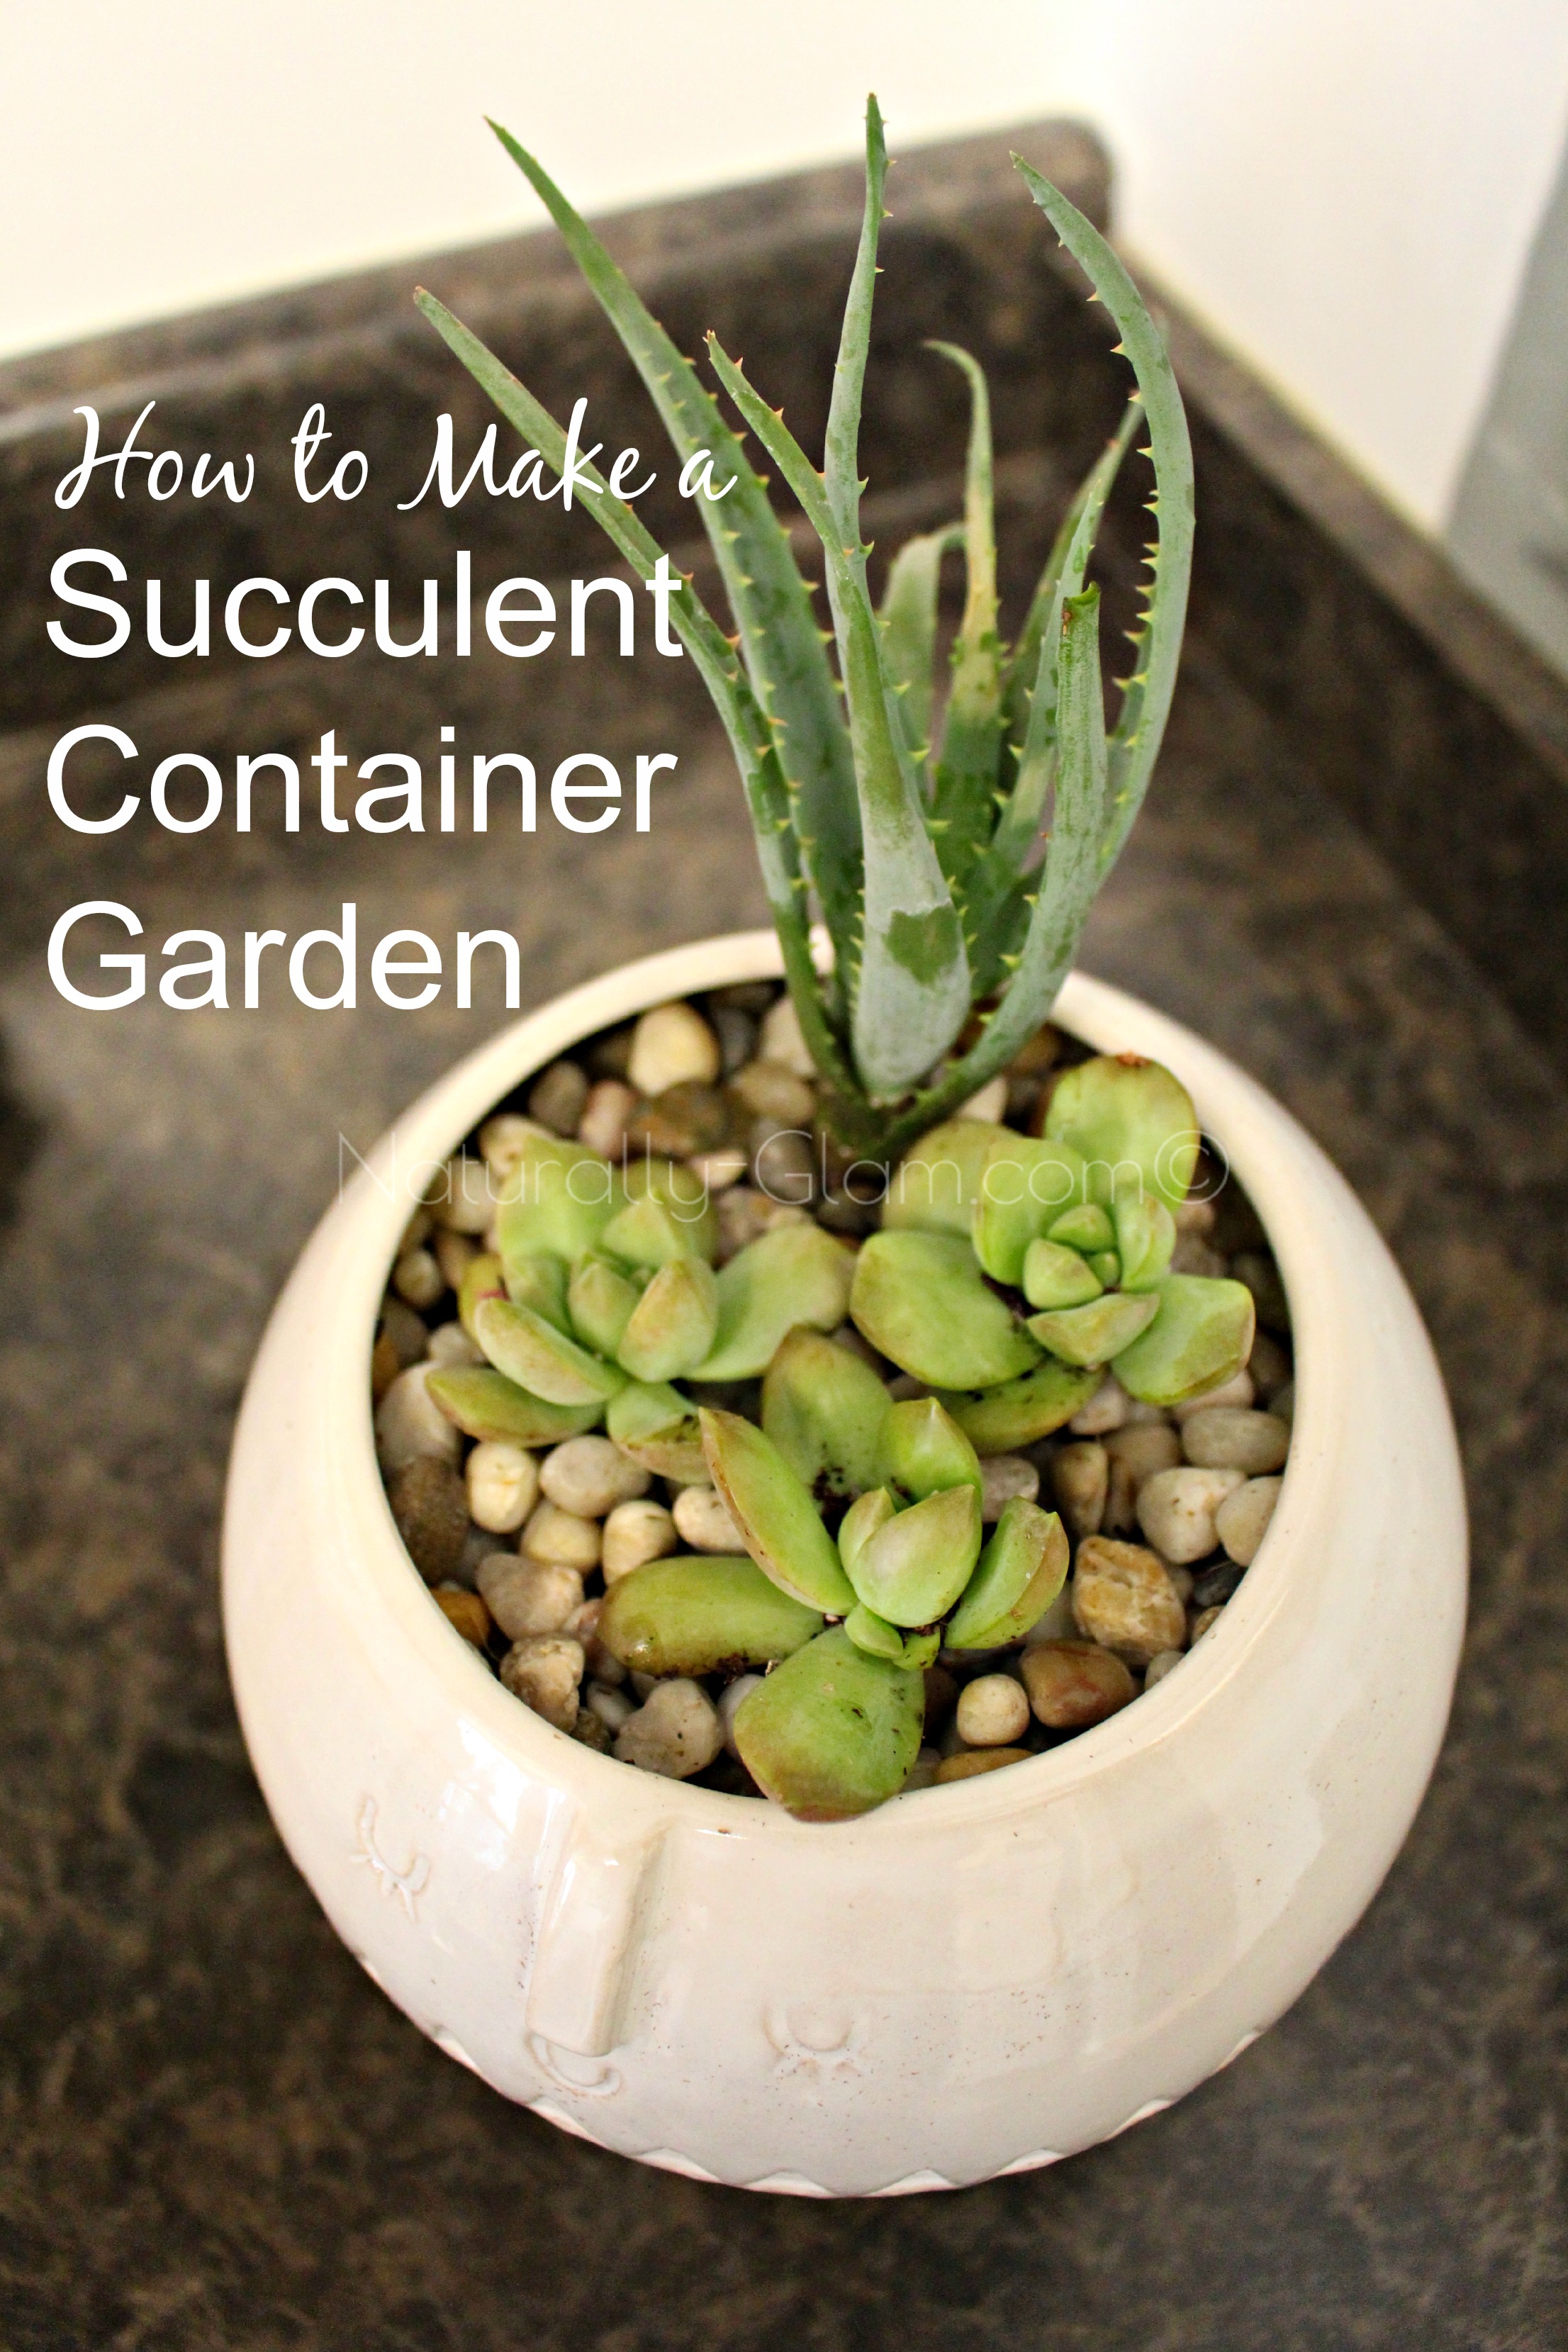
As I mentioned in my 5 Easy Indoor Plants post, succulents are one of the easiest plants to grow, both indoors and even outdoors if its not too cold where you live. With several varieties to choose from, with all different shapes, sizes, colors and heights, a succulent container garden can add all types of life to your space. I recently made a small one, using a planter I picked up from the West Elm store at Virginia Beach Town Center. In this post, I’ll share how to make a succulent container garden of your own. Feel free to go above and beyond the small one I created!
Step One. Make sure to select a container has lots of drainage. The roots of succulents can rot if they are too moist, so drainage is key. If you fall in love with a container that does not have drainage holes, like I did, you can fill the bottom of the container with lots of gravel or stones.

 This allows for excess water to drain off of the soil to the bottom of the container. For this vintage weight, the hole is perfect for one small succulent to fit. Just use a piece of plastic screen to hold the soil in place but allow for drainage. A coffee filter or newspaper works as well.

Step Two. Use cactus or succulent potting soil, or potting soil that is mixed perlite or pumice. Add enough soil to your container so that the top of your succulent plants will sit below the rim of your container. For the vintage weight, its so small that no extra soil is needed. Just gently pop the plant in and you’re done.
Step Three. While still in their containers, start arranging your succulents inside of the container to get an idea of where you’d like to place all your plants. I like to have those that will grow tallest towards the back, like this Aloe Vera plant. Then the shorter plants, like these stonecrop sedum plants, towards the front. However, you want to do it, this gives you an idea so that you don’t have to move anything after you’ve started planting.
Step Four. Gently remove the plants from their pots from the store. If the roots are tightly compacted, gently use your fingers to loosen then. Fill in any openings with more potting soil. The key work is gently here, because you don’t want to damage your succulents before you even get them planted.
Step Five. Remove any dirt or soil from on top of your succulents using a soft brush. Or just blow on them like I did to clean them up a bit. Then cover the exposed soil with gravel, sea glass, marbles – whatever you like. This gives your container garden a finished look. I used decorative gravel I’ve had for years that I got from Dollar Tree.

Step Six. Give your container a good watering. This helps to settle the soil and clear out any small air pockets, and gets your succulent container off to a good start.
Succulents are inexpensive, easy to care for, and readily available – all good reasons to make a succulent container garden. With these easy steps, you’ll be able to make one too! If you want more details on the plants pictured, just check out my 5 Easy Indoor Plants post.

 Hi, I’m Jonna. Welcome to naturally-glam.com where I share how I balance my life as a mother, wife, and influencer.